Understanding Chef Base Repair Needs
In the culinary world, efficiency and functionality are paramount. A chef base repair is essential to maintain the equipment that chefs rely on. Chef bases serve as the backbone for many commercial kitchen operations, combining refrigeration and workspace in one convenient unit. Understanding common issues, the importance of timely repairs, and knowing when to call in a professional can save both time and money in the bustling environment of a kitchen.
1. Common Issues Faced by Chef Bases
Chef bases experience a variety of issues stemming from heavy usage. Here are some prevalent problems that need attention:
- Temperature Variability: Many chef bases face challenges maintaining the appropriate temperature due to malfunctioning cooling systems or blocked vents.
- Compressor Problems: The compressor is vital for cooling, and issues such as loud noises or failure to engage can be signs of a malfunction.
- Electrical Failures: Electrical components can be prone to issues, including faulty wiring or damaged control panels, leading to complete failure.
- Physical Damage: Constant movement and use can lead to physical wear and tear, including dents, scratches, or damage to the drawers and shelving units.
2. Importance of Timely Repairs
Addressing repairs promptly is crucial for several reasons:
- Preventative Maintenance: Timely repairs prevent further damage, which could lead to more expensive fixes or even total replacement of the unit.
- Operational Efficiency: A chef base that is functioning optimally ensures efficiency in food preparation, storage, and access, all of which are critical in a fast-paced kitchen environment.
- Food Safety: Malfunctioning refrigeration can compromise food safety. Keeping food at the appropriate temperature is essential to prevent spoilage and foodborne illnesses.
3. Identifying When to Call a Professional
Knowing when to reach out for professional help is an important skill for kitchen managers and chefs. Signs that it’s time to call a technician include:
- Repeated issues that persist despite basic troubleshooting or repairs.
- Unusual noises or leaks that suggest deeper mechanical failures.
- Inability to maintain the required temperatures consistently.
- Electrical issues that could pose safety hazards.
Tools and Materials for Chef Base Repair
Equipping yourself with the right tools and parts is fundamental for any chef base repair endeavor. This section outlines essential tools, sourcing quality replacement parts, and recommended safety gear.
1. Essential Tools for the Repair Process
Having the right tools can simplify repairs significantly. Here are some essentials to keep on hand:
- Screwdrivers: A set of various screwdrivers (flathead and Phillips) will help in removing or tightening screws.
- Socket Wrench Set: Useful for loosening or tightening bolts in the compressor or chassis.
- Multimeter: For diagnosing electrical problems and checking the voltage of components.
- Thermometers: To verify internal temperatures of the chef base, ensuring food safety compliance.
- Cleaning Supplies: Brushes, wipes, and sprays to maintain cleanliness before and after repairs.
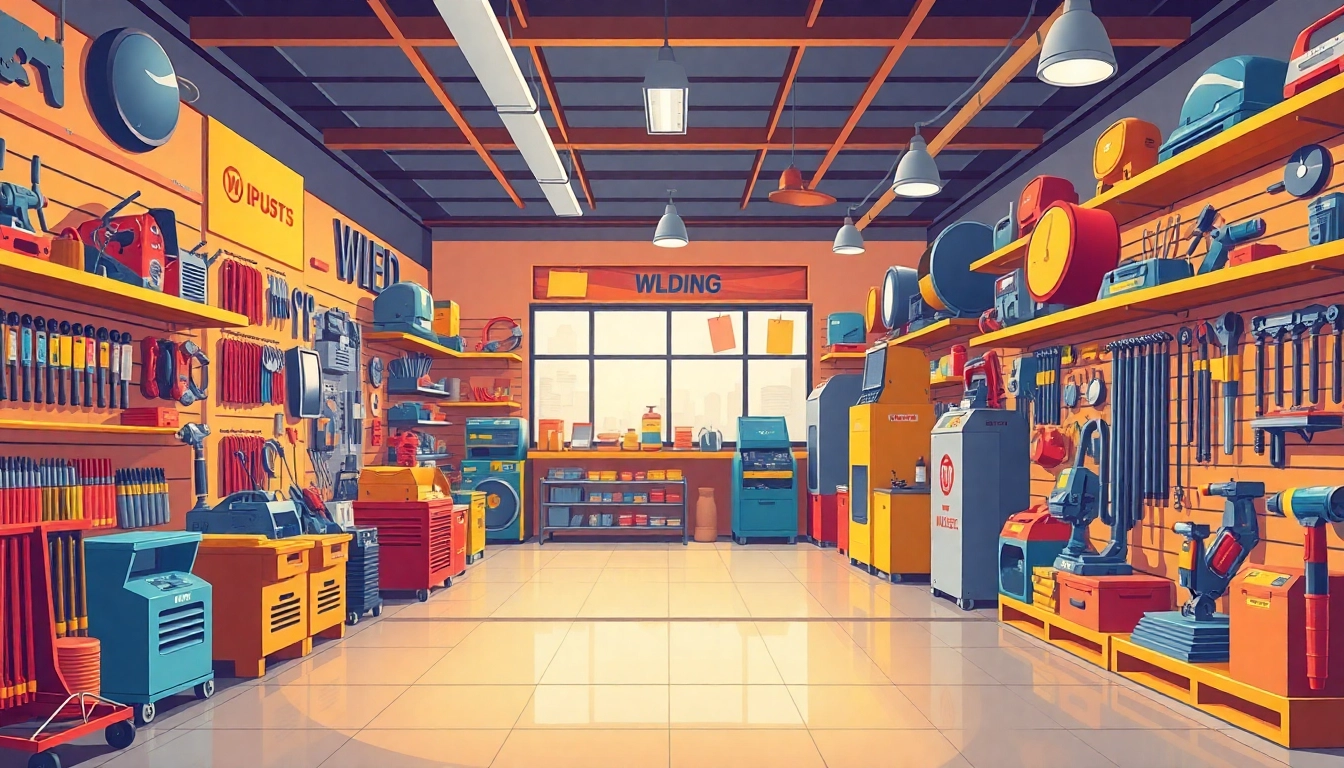
2. Sourcing Quality Replacement Parts
Quality parts are critical for successful repairs. Here’s how to find reliable sources:
- OEM Parts: Always opt for Original Equipment Manufacturer (OEM) parts that are designed specifically for your chef base model.
- Reputable Suppliers: Websites like Parts Town provide a comprehensive catalog of parts, ensuring that you’re getting what you need.
- Local Appliance Stores: Check local vendors who may stock common chef base components for quicker service.
3. Recommended Safety Gear
Workplace safety should never be overlooked. Essential safety gear includes:
- Gloves: Protect your hands from sharp edges and hazardous components.
- Safety Goggles: Use to protect your eyes from debris while working on the equipment.
- Proper Footwear: Non-slip, closed-toed shoes for secure footing, especially in a kitchen environment.
Step-by-Step Process for Chef Base Repair
Engaging in a chef base repair can seem daunting, but following this structured approach can simplify the process.
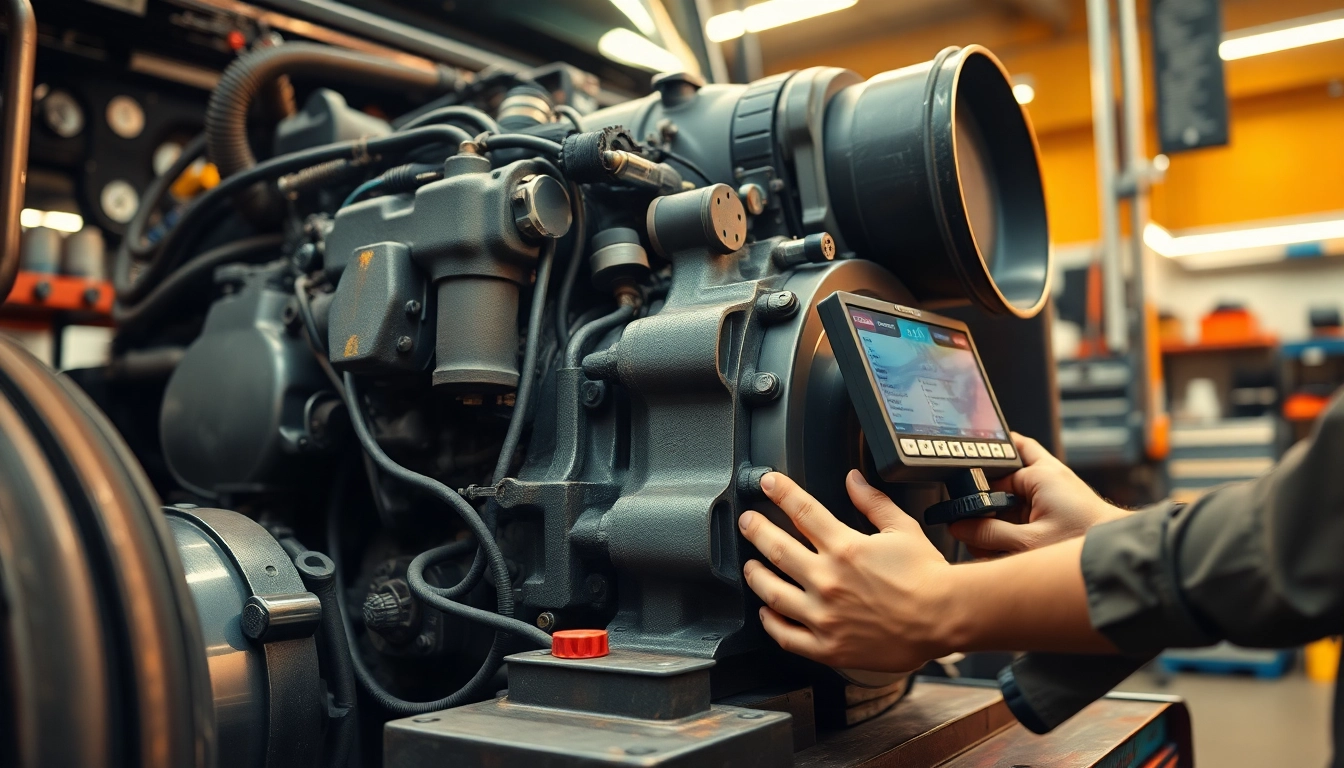
1. Initial Diagnosis of the Problem
The first step in any repair is to diagnose what the issue is effectively. Consider these methods:
- Visual Inspection: Start by examining the exterior and interior for any signs of wear, leaks, or damage.
- Temperature Check: Use a thermometer to assess whether the chef base is maintaining the correct temperatures.
- Listen for Sounds: Pay attention to any unusual sounds from the compressor or electrical components.
2. Detailed Repair Procedure
Once you’ve determined the issue, it’s time to tackle the repairs:
- Unplug the unit and ensure safety protocols are followed.
- For electrical issues, identify the faulty component using the multimeter and replace as needed.
- For compressor issues, check the refrigerant levels and the compressor’s functionality; replace it if required.
- Address minor fixes by replacing damaged parts, like drawers or shelves, as identified in your initial diagnosis.
3. Testing and Final Adjustments
After the repairs have been completed, it’s vital to put the unit back into operation to verify that everything is functioning correctly:
- Reconnect the power supply and check for any immediate issues upon startup.
- Monitor the unit for at least several hours to ensure it maintains the desired temperature.
- Perform final cleaning to ensure it is operational and ready for use.
Best Practices for Maintaining Chef Bases
Prevention is key in maintaining the longevity of your chef base. Here are best practices to keep your equipment in top shape.
1. Regular Cleaning and Maintenance Tips
Implementing a cleaning schedule can help maintain the performance of your chef base:
- Daily: Wipe down surfaces and check for spilled food or debris.
- Weekly: Perform a thorough inspection of the interior and exterior, cleaning any spills promptly.
- Monthly: Check and clean the condenser coils to prevent overheating and maintain efficiency.
2. How to Prevent Common Failures
Proactive measures can greatly reduce the risk of costly repairs in the future:
- Ensure proper airflow by keeping vents clear and avoiding overloading the unit.
- Regularly check door seals for wear and replace them to prevent energy loss.
- Schedule periodic professional maintenance to catch issues before they develop into serious problems.
3. When to Schedule Professional Maintenance
Knowing when to seek professional help is just as critical as performing maintenance yourself:
- Once a year for routine maintenance checks and servicing.
- Whenever the unit exhibits repeated issues or inconsistencies in performance.
- For complex repairs involving the compressor or electrical systems that require specialized knowledge.
Cost of Chef Base Repair and Budgeting Tips
Understanding the financial implications of repairs can aid in effective budgeting for kitchen operations. Here’s what you need to know.
1. Average Repair Costs Overview
Knowing the typical costs associated with chef base repairs can prepare you for unexpected expenses:
- Minor repairs (e.g., adjustments or cleaning): $100 – $300
- Replacement of parts (e.g., compressor, electrical components): $300 – $1,000
- Complete unit replacement: Typically ranges from $2,000 to $5,000 depending on the brand and features.
2. Budgeting for Future Repairs
Setting aside a budget for repairs can ease financial strain:
- Allocate a percentage of your annual budget specifically for maintenance and repairs.
- Create an emergency fund for unexpected repairs to avoid operational disruptions.
3. Evaluating Repair vs. Replacement Costs
When considering repairs, analyze the costs versus the benefits:
- Repairing a unit may be cost-effective if it has a prolonged service life of over five years.
- Consider replacement if repairs exceed 50% of the cost of a new unit, or if the unit is consistently failing to meet operational standards.