Understanding Deck Construction Basics
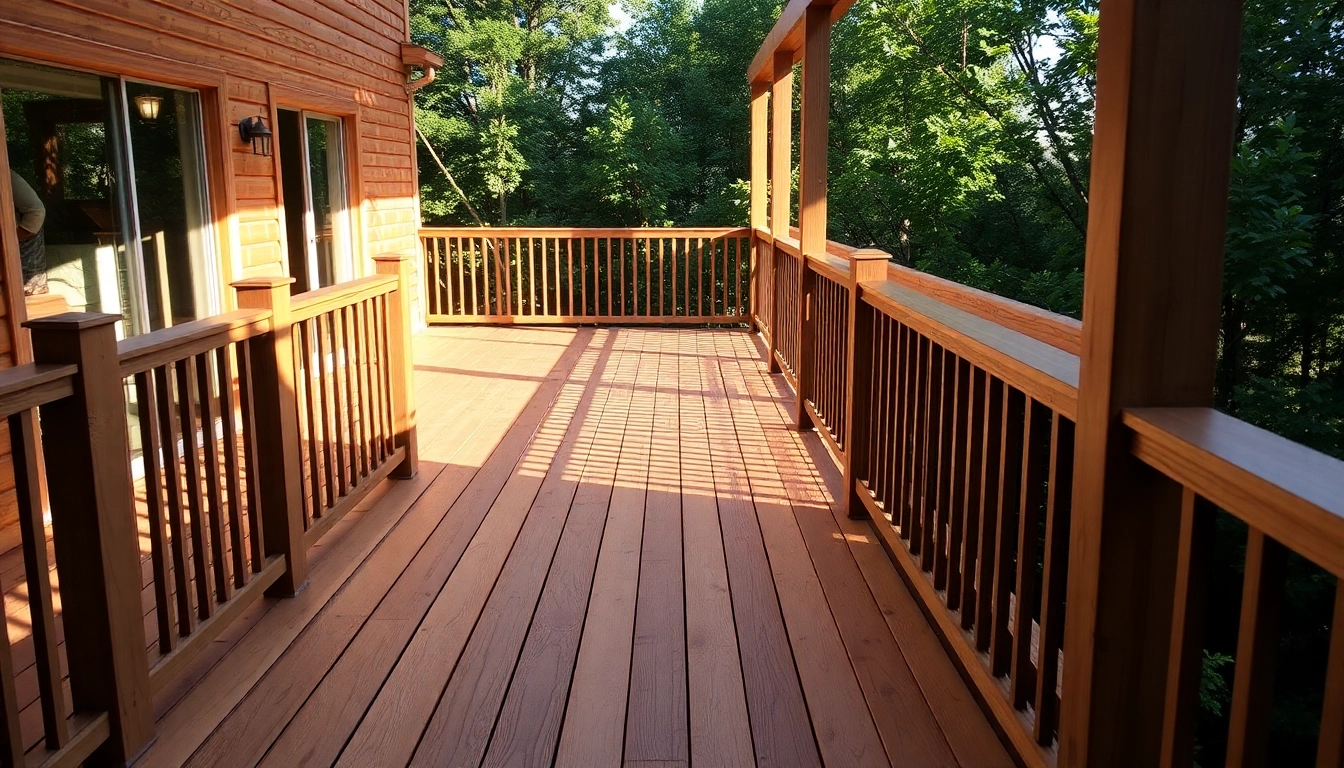
Deck construction is an essential aspect of transforming outdoor spaces into functional and attractive areas for relaxation and entertainment. With the right design and materials, a well-constructed deck can serve as a valuable extension of your home, enhancing both its aesthetic appeal and market value. Whether you are a DIY enthusiast or considering hiring a professional service, understanding the basics of deck construction is imperative for a successful project.
What is Deck Construction?
Deck construction involves designing, planning, and building elevated platforms or structures outdoors, typically made of wood, composite materials, or other building products. This process includes various stages, such as obtaining necessary permits, selecting materials, framing the deck, and finishing touches like railings and stairs. Decks can vary significantly in size and complexity—from simple platforms to expansive multi-level constructions complete with pergolas.
Common Materials Used in Deck Construction
Decks can be constructed using a range of materials, each having its characteristics, advantages, and disadvantages. Here are some of the most common materials:
- Pressure-Treated Wood: One of the most popular and cost-effective choices, treated wood is naturally resistant to decay and insects but requires regular maintenance.
- Redwood and Cedar: These hardwoods offer natural beauty and resistance to rot but can be more expensive than treated lumber.
- Composite Decking: Made from a blend of wood fibers and recycled plastic, composite decking is low-maintenance and available in various colors and styles. However, it can be more costly upfront.
- PVC Decking: A plastic alternative that offers high durability and weather resistance but lacks the natural look of wood.
Key Considerations Before Starting
Before embarking on a deck construction project, several key considerations should be evaluated:
- Purpose: Determine how you plan to use the deck, such as for entertaining, relaxing, or connecting to a garden.
- Location: Analyze the location for sunlight, shade, and views to optimize enjoyment of the space.
- Building Codes: Research local building codes and regulations, including necessary permits and inspections.
- Budget: Formulate a realistic budget that incorporates materials, labor, and additional features like lighting or furniture.
Planning Your Deck Construction Project
Choosing the Right Design and Layout
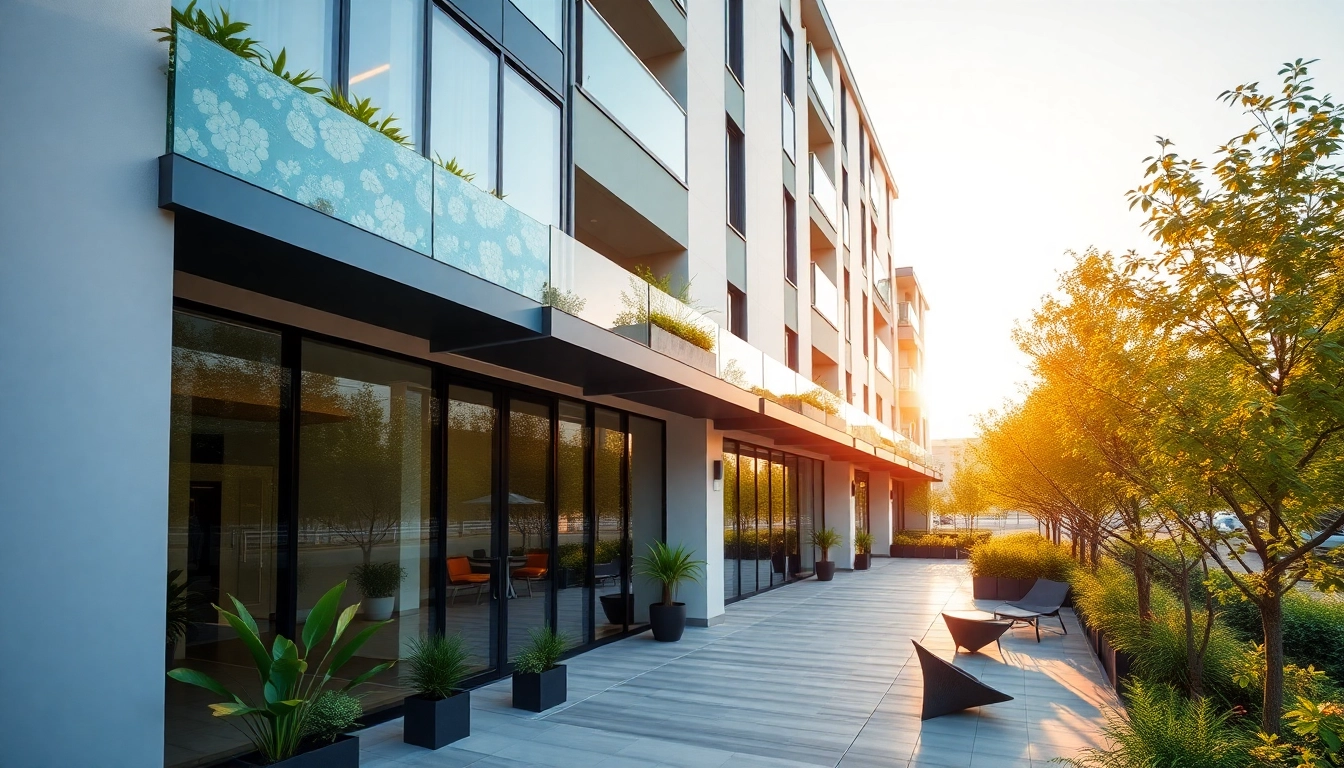
The design and layout of your deck are crucial since they will dictate its functionality and aesthetics. Here are some popular design ideas:
- Attached Deck: This type connects directly to the house, providing easy access and making it an extension of indoor living spaces.
- Freestanding Deck: Ideal for a backyard space separate from the home, these decks are self-supporting and may require additional engineering.
- Multi-level Deck: A versatile option that adds visual interest, accommodating different activities across separate levels.
- Wrap-around Deck: This design encircles the house, offering entrances from various rooms while maximizing outdoor space.
Permits and Regulations for Deck Construction
Understanding local building codes is critical. Most municipalities require permits for deck construction, especially if the deck is elevated. These regulations may include guidelines on load bearing, railing height, and other safety measures. Consult your local building department to determine specific requirements, and ensure you submit the necessary plans with your application.
Estimating Your Budget for Materials and Labor
Accurate budgeting for your deck project involves calculating costs for materials, labor, permits, and potential unforeseen expenses. Generally, deck construction costs can range widely. For instance, a typical wooden deck can cost around $30-$60 per square foot, while composites range from $50 to $100 per square foot. Don’t forget to include labor costs, which can represent about 50% of total expenses if hiring professionals.
Essential Tools for Deck Construction
Must-Have Tools for Every DIY Deck Builder
Having the right tools at your disposal is critical for achieving a successful build. Here’s a list of essential tools:
- Circular Saw: For making precise cuts on decking boards and framing lumber.
- Drill: Essential for driving screws and creating pilot holes.
- Level: To ensure accurate installation and alignment.
- Square: For creating right angles in your framing.
- Tape Measure: For precise measurements and layouts.
- Post Hole Digging Tools: Necessary for digging footings or post holes.
Safety Equipment and Best Practices
Safety should always be a priority when constructing a deck. Wear safety goggles, gloves, and hearing protection while using power tools to avoid injuries. Ensure your work area is clear and organized, and use ladders safely to reach elevated areas securely.
How to Prepare Your Workspace
Preparing your workspace involves not only organizing tools and materials but also ensuring a safe and efficient environment. Clear the area of debris and unwanted items, set up a designated area for cutting and assembling materials, and consider using tarps or coverings to protect them from weather conditions.
Executing the Deck Construction Steps
Setting Footings and Posts
Footings provide foundational support for your deck and must be correctly sized and placed. Here are the steps:
- Mark the layout of the deck using stakes and string lines.
- Dig holes for footings at least 36 inches deep, where local frost lines require.
- Pour concrete into the holes and let it cure, inserting anchors to set the posts.
- Attach the support posts to the anchors, ensuring they are level and plumb.
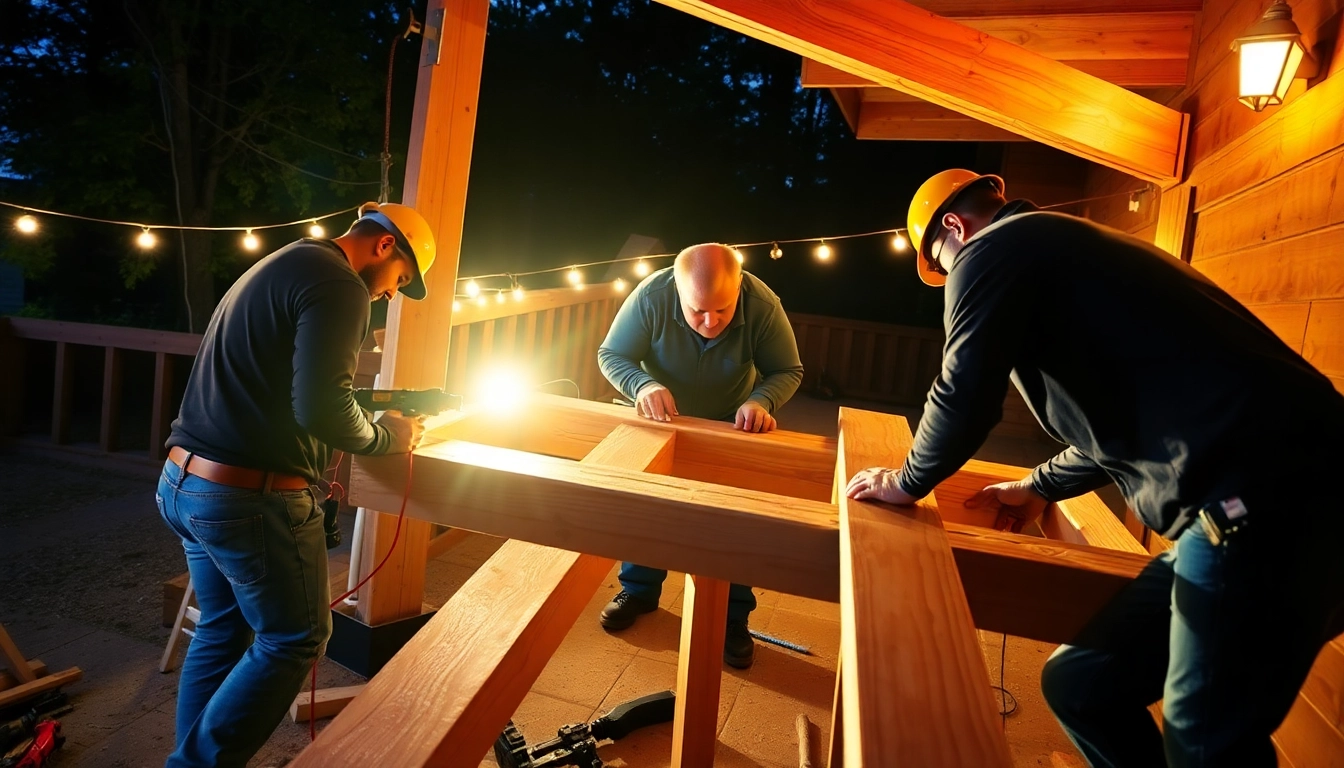
Building the Frame and Adding Joists
The frame acts as the skeleton of your deck:
- Attach a ledger board to the house, ensuring it is level.
- Install beams perpendicular to the ledger, secured to the posts.
- Add joists spaced consistently (typically 16 inches apart) for support.
- Use blocking between joists for added strength.
Finishing Touches: Railings and Decking
Once the frame is complete, it’s time to install the decking material. The following steps are key:
- Lay decking boards perpendicular to the joists for maximum support.
- Space them appropriately to allow for water drainage and expansion.
- Secure with corrosion-resistant screws or hidden fasteners for a clean finish.
- Install railings according to local safety code requirements.
Maintaining Your Deck Post-Construction
Best Practices for Deck Maintenance
To preserve the lifespan of your deck, regular maintenance is essential:
- Clean the deck regularly, removing debris and dirt to prevent mold and mildew.
- Inspect for loose boards or damaged railings and make repairs promptly.
- Consider resealing or staining wooden decks every few years, depending on exposure to weather.
How to Handle Common Deck Repair Issues
Common repair issues may include:
- Loose Boards: Replace or refasten loose boards to ensure safety.
- Cracking or Splitting Wood: Sand down rough areas or replace severely damaged boards.
- Rusty Hardware: Replace rusted screws or nails to avoid further damage.
Seasonal Care Tips for Longevity
Seasonal maintenance helps ensure your deck stands the test of time:
- Spring: Perform a thorough cleaning and inspect for winter damage.
- Summer: Regularly check for mold or mildew and apply necessary treatments.
- Fall: Clean fallen leaves and organic debris to prevent decay over winter.
- Winter: Ensure snow is removed properly and consider covering with a tarp if strong winds are expected.